| Click images for larger versions | Description | Documents |
|---|

|
Top down after removing the cards.
|
N/A
|

|
The most prominent markings on the backplane.
|
N/A
|

|
More backplane markings.
|
N/A
|

|
Backplane circuitry.
|
N/A
|

|
There was some crud under the front panel. This cleaned up very well with some 409. The crud looked like some kind of dried resin. (or maybe some RC Cola? Whatever it was, it didn't belong there! :-)
|
N/A
|

|
Some nice recessed nut case fittings. This is one of the case joining strips. There are 2 of these per side, so 2 per case half. Also, these nuts float, so it's much easier to locate them with the end of the screw when trying to align and fasten case halves together.
|
N/A
|

|
The back side of the case joining strip.
|
N/A
|
|
This is a very nice, versatile case. All the screws match, In most cases, they're beveled screw holes in the case halves. All the wires are color coded and cleanly zip-tied.
|
N/A
|

|
Obviously, the case was created to accomodate a variety of backplane profiles. It turns out the external dual floppy enclosure has the same case halves as this case. The only differences are the front and rear panels.
|
N/A
|

|
The case end panels are secured with riveted metal clips with plastic grommets and machine screws (not wood screws.) Very nice. You can actually take these cases apart a few times without all the plastics crumbling to dust or stripping out.
|
N/A
|

|
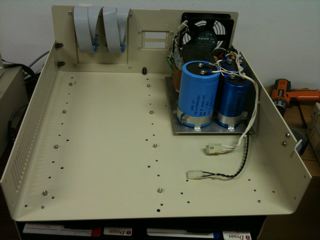
The linear power supply. What a contrast to modern day power supplies. Externally, these caps are still in good shape. They show no signs of leakage.
|
N/A
|

|
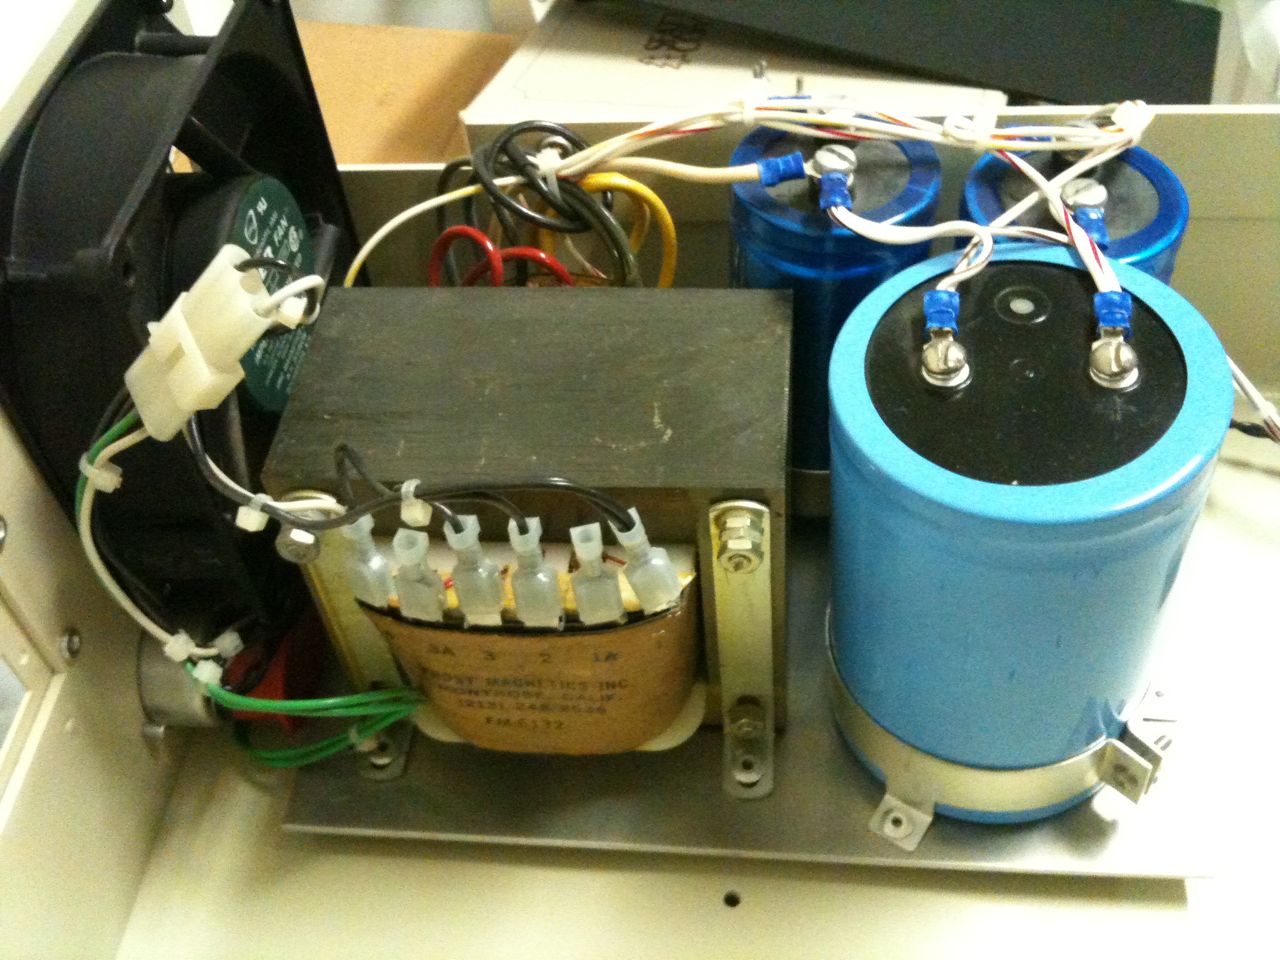
Very large electrolytic caps! 150,000µF and 20,000µF.
|
N/A
|

|
The step-down transformer.
|
N/A
|

|
The lower case half with mounting strip attached.
|
N/A
|

|
Some wire connectors. All dummy-proof and all the same. Not your daddy's Molex connecter, eh? (Wait, yes it is!!)
|
N/A
|

|
Some case fitments. All screw holds are either tapped into a reinforced sleeve welded to the shell, or these (aluminum?) inserts.
|
N/A
|

|
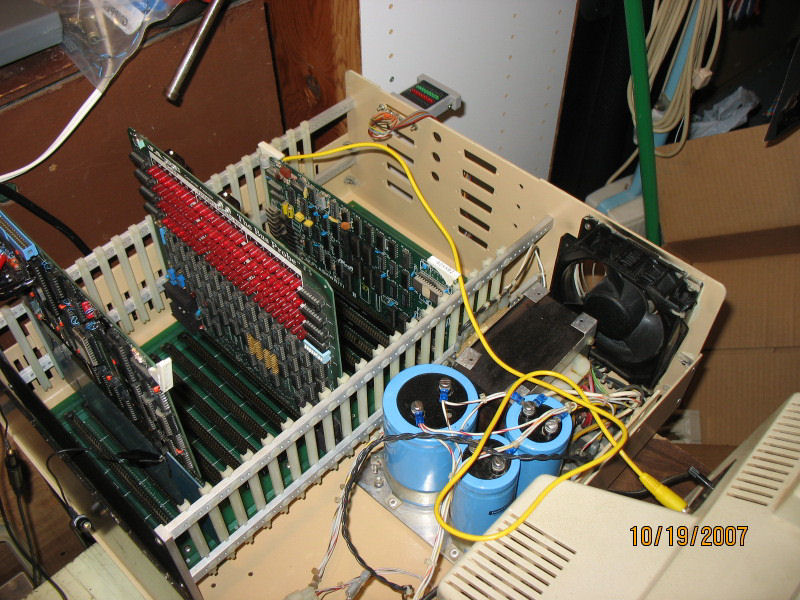
The card cage.
|
N/A
|

|
Interior angle on the card cage plastics.
|
N/A
|

|
Going back together now.
|
N/A
|

|
Backside of the front panel. Again, consistent wiring, connectors and color coded.
|
N/A
|

|
Front side of the front panel. I had to have the key made. The original had a plastic end that broke off. I still have the keyed portion of the broken key and used it to have another key made. I'm still looking for a cool plastic key blank to cut with a black handle.
|
N/A
|

|
The (rather humble looking) control panel: a keyed power switch and illuminated reset button. After researching S-100 enclosures in earnest for 3 days, I think the IMSAI and Altair boxes have some very cool front panels. The SCP 8086 board has a socket that supports an IMSAI style front panel control. If I keep this box, I may think about adding that.
|
N/A
|

|
All cleaned up, re-assembled and ready for smoke testing -- er, initial start up, that is :-)
|
N/A
|

|
The back panel. The previous owner labeled the ports with LabelGun tape labels. I may reconfigure some DIPs that will require these to be relabeled. I'm exploring better ways to label this. Where I used to work, they had a computer driven engraving machine that beveled out recessed characters and other patterns on metal equipment control boards. That, with some black paint to fill them in would look pretty cool. Of course, if it's permanent like that, I'll need a plate for each config... Maybe just the front panel.
|
N/A
|

|
Side view after reassembly.
|
N/A
|

|
Head on view. All cleaned up and ready to go.
|
N/A
|


