Disk Drive Cleanup
After cleaning up the S-100 enclosure, it was then time to go through the dual floppy enclosure. As with the S-100 box, I disassembled the box to clean out some dust and see if I could find any additional part numbers or identifying marks. Also, the floppy drive doors were binding on occasion and I wanted to fix that.
For the most part, the system was dusty, but nothing too unusual, other than some crud under the front panel, just like in the S-100 box. Whatever the substance was, it must have been spilled on both boxes at the same time since they were stacked one on top of the other. This came off completely with a little 409 and a lint free cloth. I used compressed air to get the dust out.
The problems with the sticking drive doors was a shared problem, plus 2 different problems for each drive. The shared problem was that both drive bezels and release buttons had some goo and dust lodged between the plastics. The more I used the drive, the more often the doors would stick. I disassembled the drive door latch, locking solenoid and bezels and thoroughly cleaned all the parts.
The specific problem with first drive was due to the foam rebound pad that cushions the carrier assembly was jamming the drive door when the latch was released. It seemed that the foam had a small tear in it where half of the pad material would fold up between the front bezel and the door latch plate when the drive door started to open. This would bind up and not allow the door to open all the way. Some Super Glue Gel bonded the foam pieces together perfectly. Now the foam is back in it's original shape and the drive door opens smoothly 100% of the time.
The second drive had a problem where the solenoid rebound bumper was causing the pin in the lock solenoid to stick in the locked position. The bumper was originally made out of some kind of rubber, but over the years has deteriorated into a sticky kind of waxy resin-like material that had coated the pin and the e-clip spring retainer, plus it was sticking in the bore of the center of the solenoid coil. After thorough cleaning of the parts, I tried to repositioning the sticky bumper and carefully reinserting the pin and spring, the sticking problem disappeared. For a few days, the second drive opened smoothly. But the pin began to stick again. I need to find a suitable rubber material to replace this bumper. In fact, the bumpers on the other 2 8" drives have the same problem. I'm going to try to replace them all. After researching this, it seems to be a common problem for these drives, as well as other vintage hardware with rubber pieces like this, such as drive belts and pinch rollers in older printers.
| Click images for larger versions | Description | Documents |
|---|
|
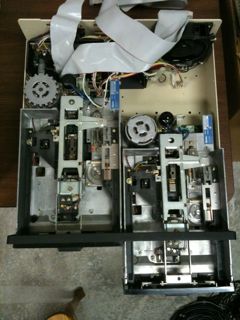
Beginning disassembly of the dual floppy enclosure. The drives were a tight fit inside the front enclosure plate.
|
N/A
|

|
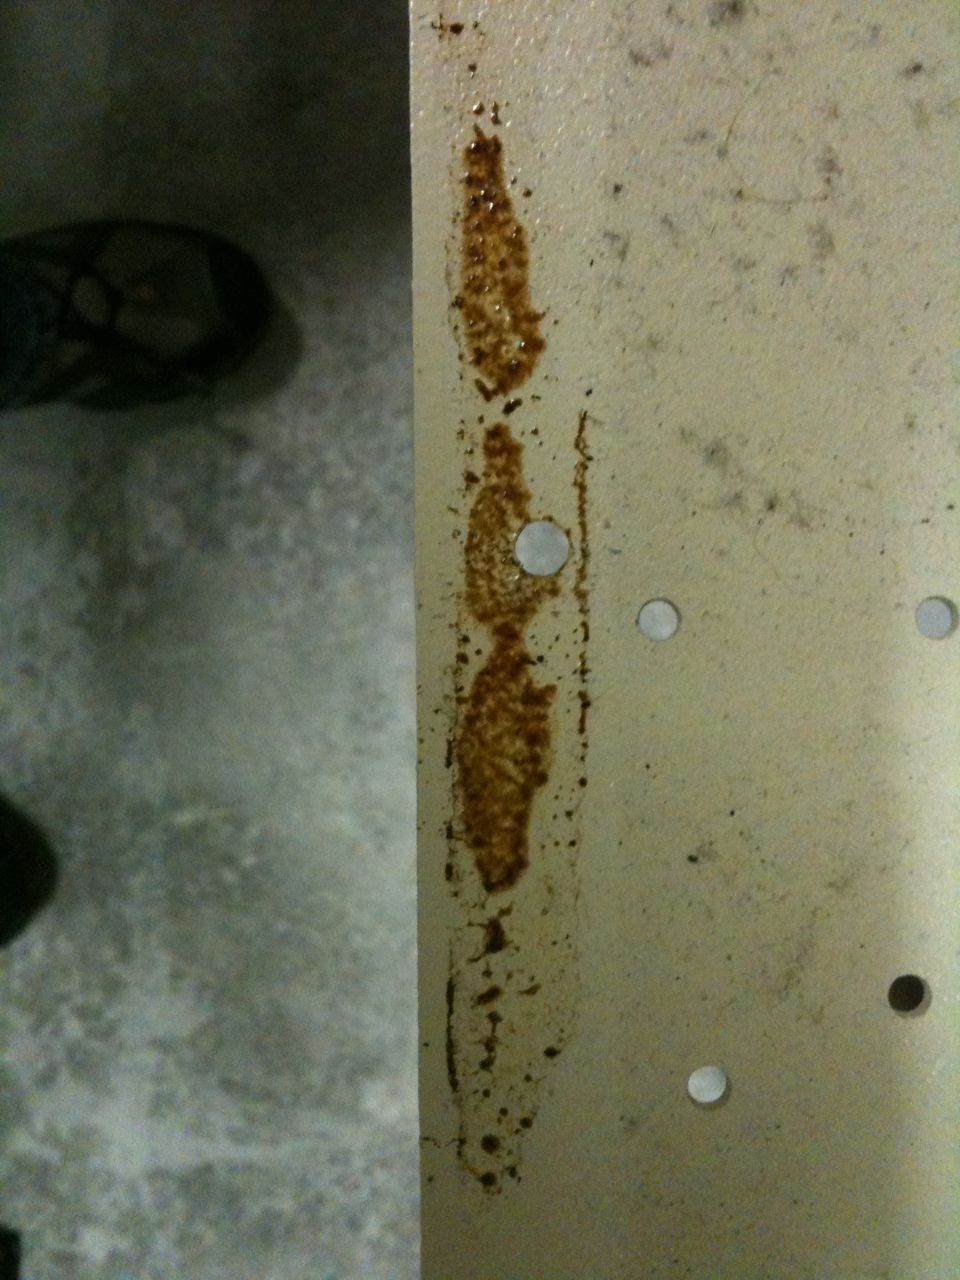
Some more of the same goo found in the S-100 enclosure, under the front panel.
|
N/A
|
|
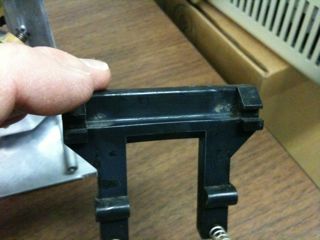
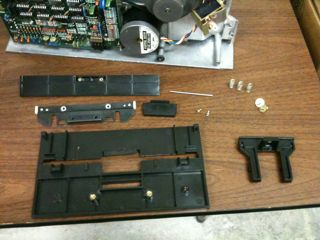
The drives were held in the enclosure by these shim plates. There were only a few screws holding everything together. Reassembly will require adding some missing screws to make sure the drives don't move around if bounced during shipping, or if for some reason the enclosure is ever positioned upside down.
|
N/A
|
|
The case was pretty dirty. No goo on any of the electronics, just the case halves and some plastics. This, plus the dust, all cleaned up fine.
|
N/A
|
|
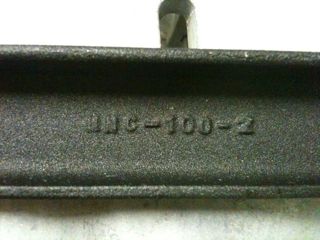
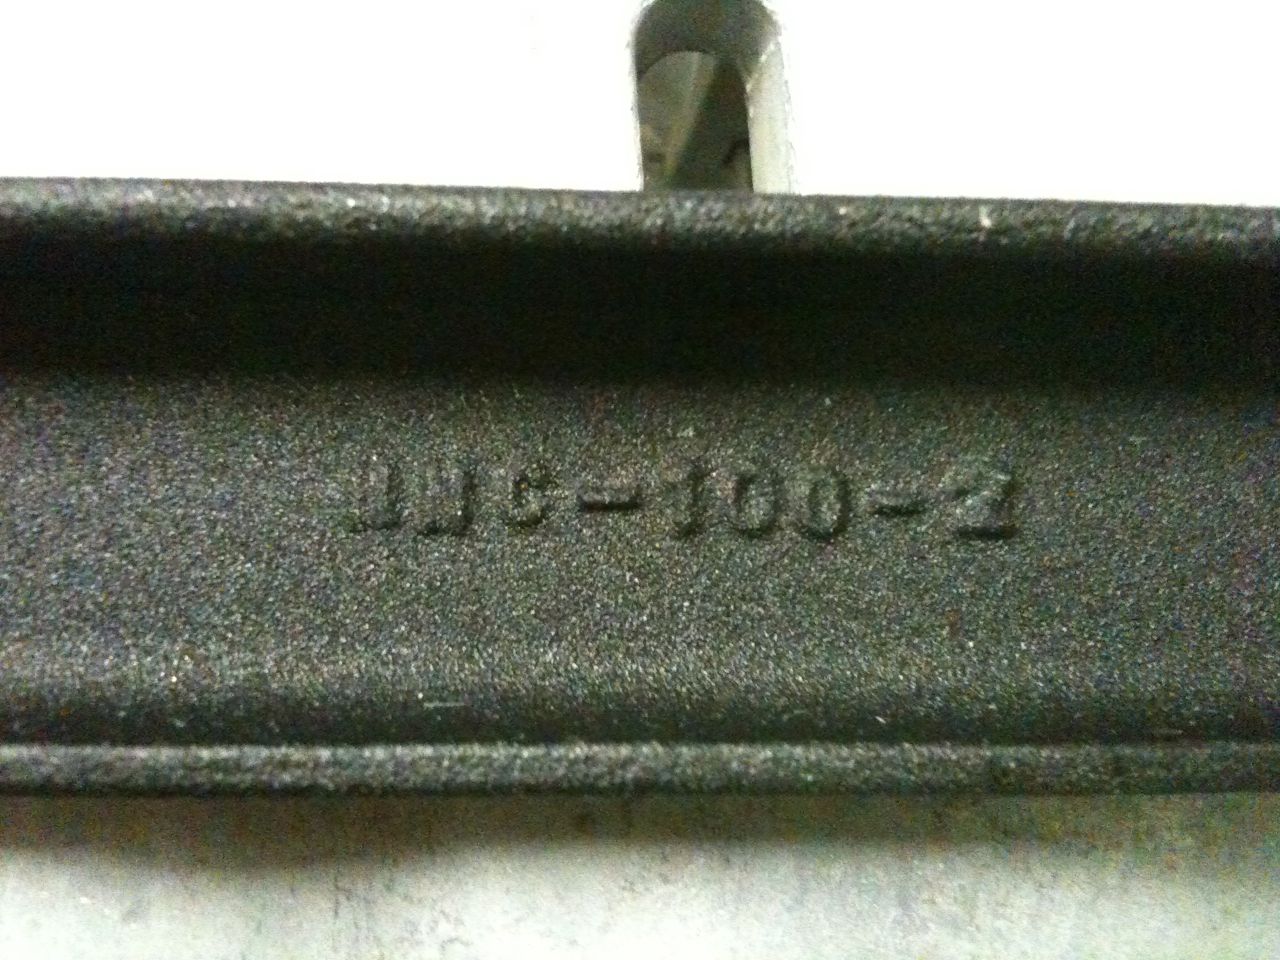
Some part number markings cast into the back of the front bezel. This marking, plus the "NNC-100" marking on the S-100 backplane, helped me confirm that both the S-100 enclosure and this dual floppy enclosure were manufactured by NNC Electronics (NNC stands for "No Name Computer.") None of my enclosures had the NNC badge on the front panels.
|
N/A
|

|
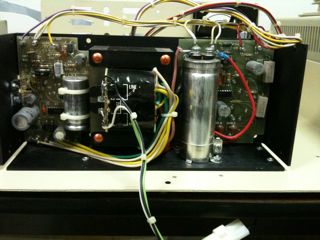
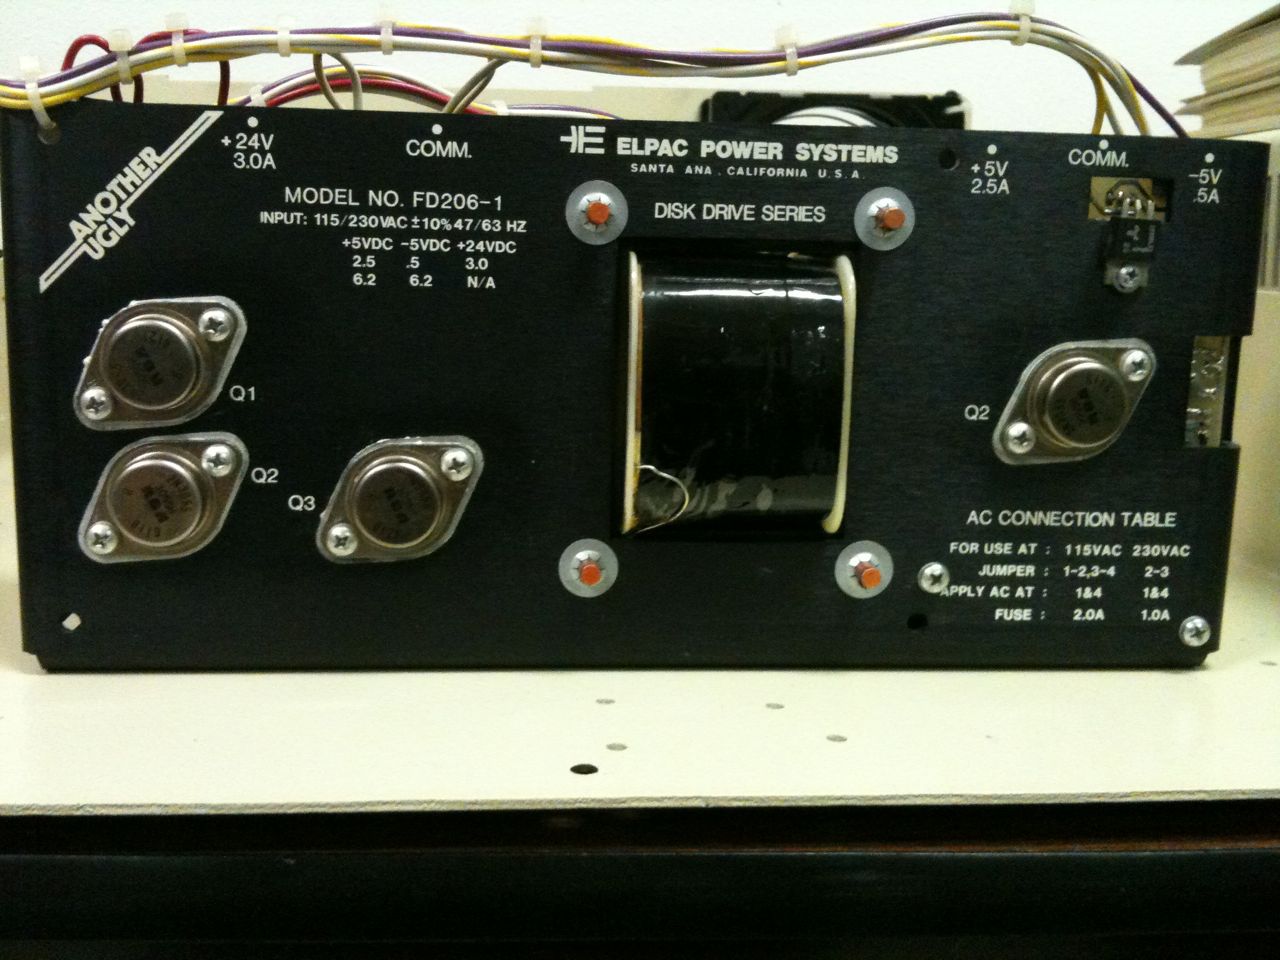
Rear view of the power supply. Looks like ELPAC had a sense of humor! I guess I have "Another Ugly" power supply, LOL
|
N/A
|
|
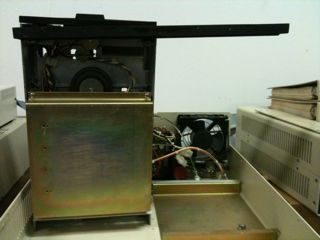
Front view of the power supply.
|
N/A
|

|
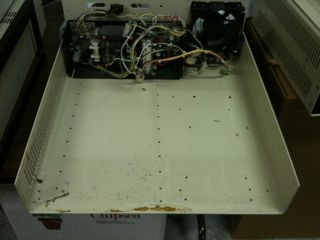
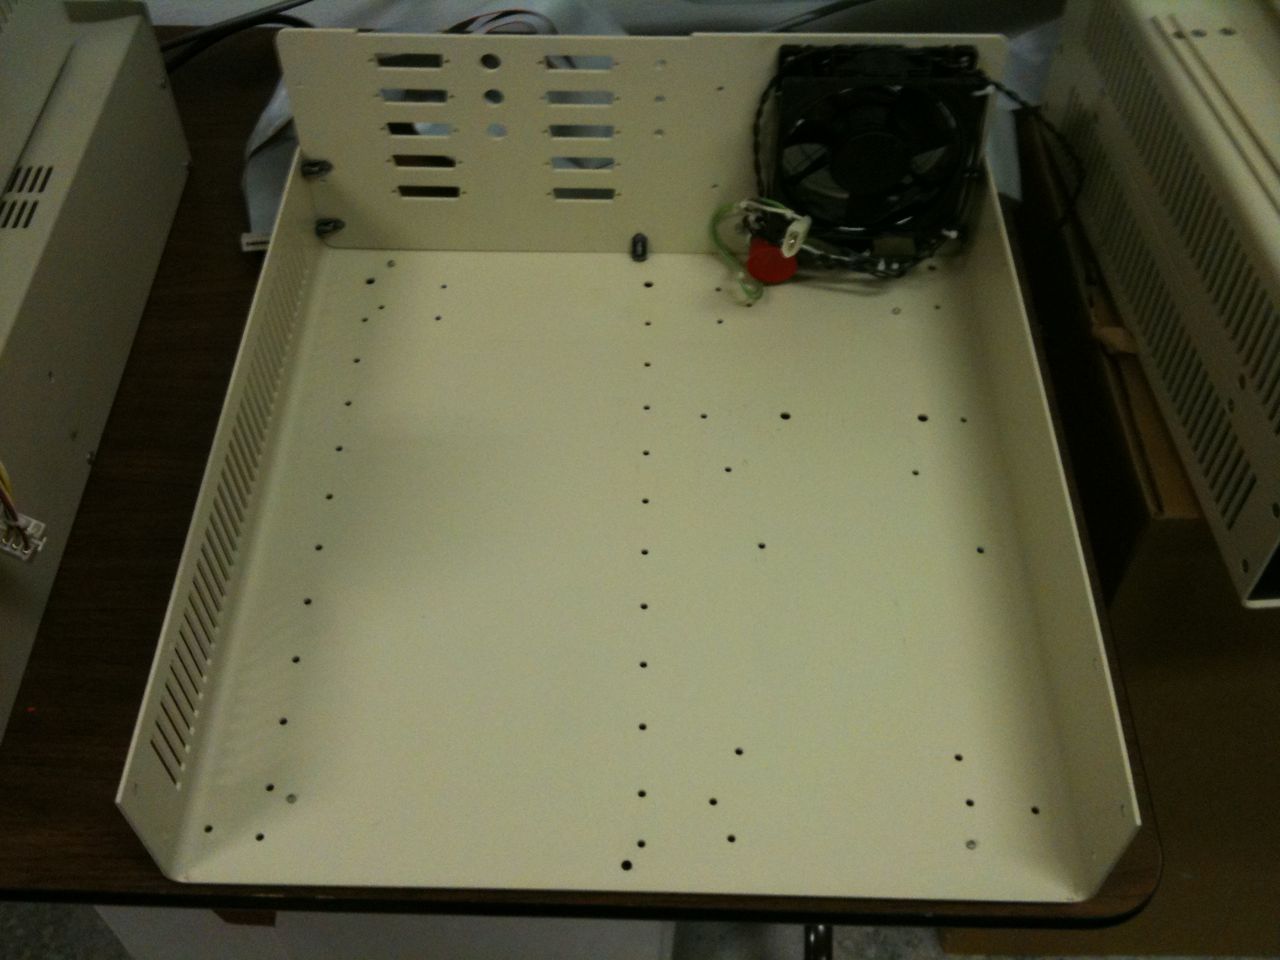
Case is now cleaned up and ready for the drives.
|
N/A
|
|
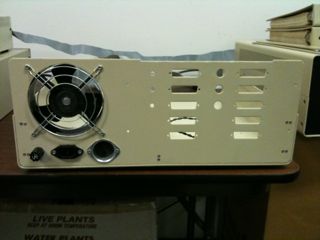
The back panel of the enclosure.
|
N/A
|

|
Front bezel removed. Pretty dusty.
|
N/A
|
|
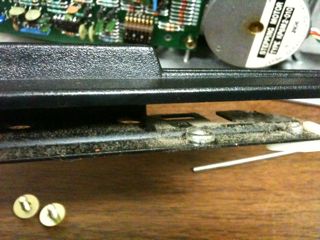
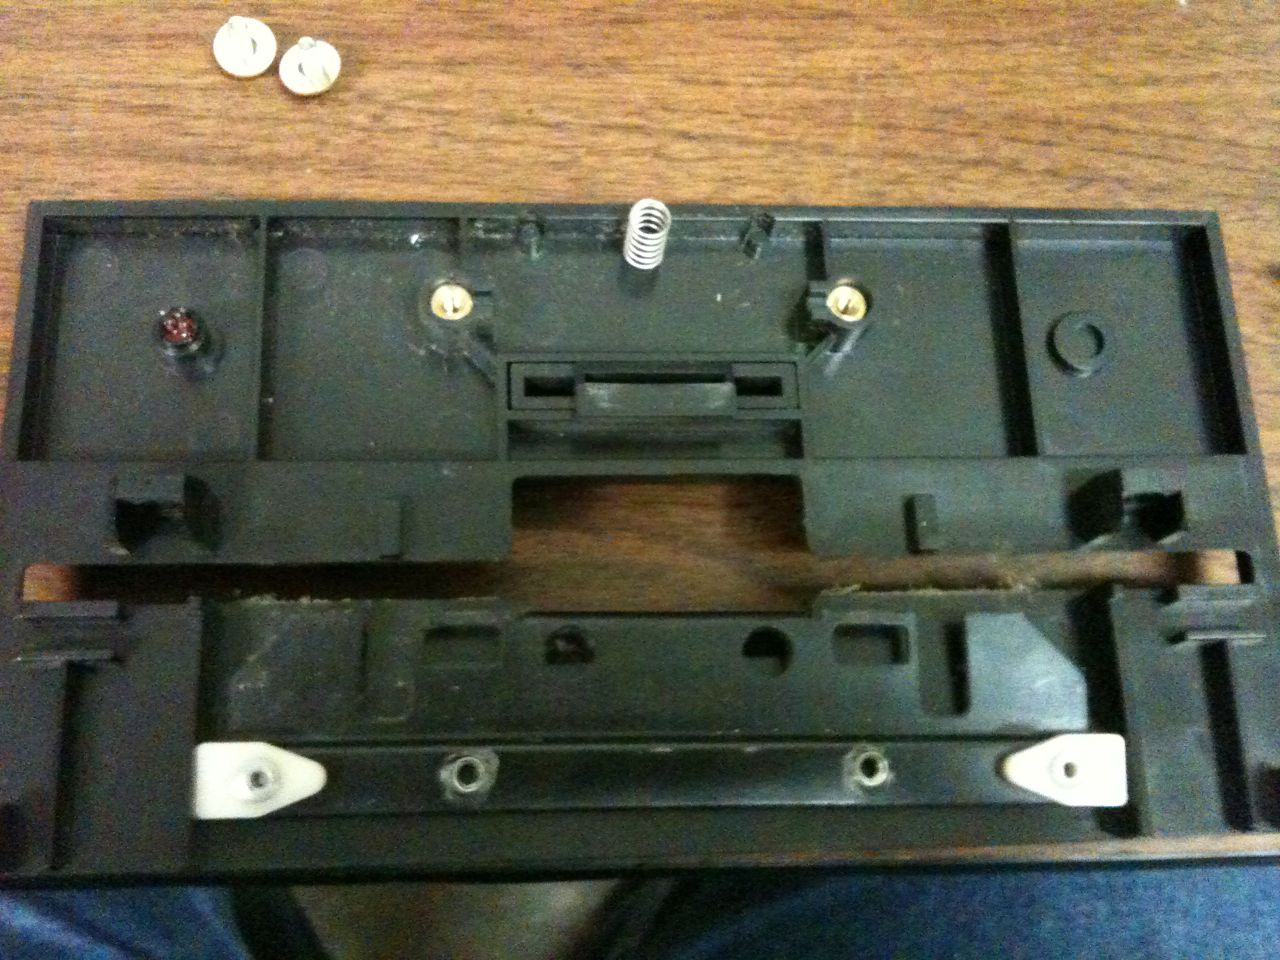
Dusty door latch plate.
|
N/A
|
|
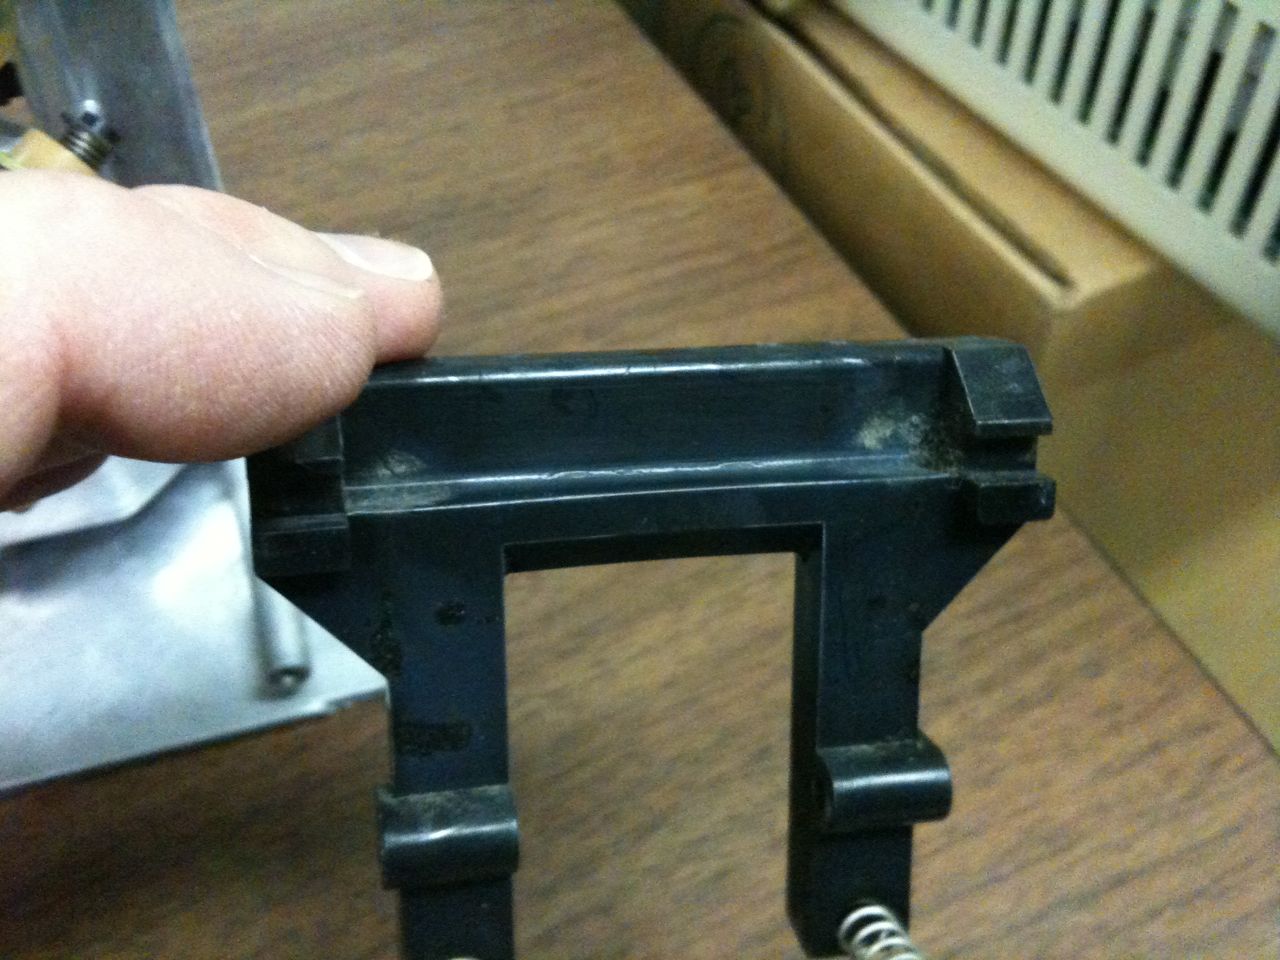
The door latch.
|
N/A
|
|
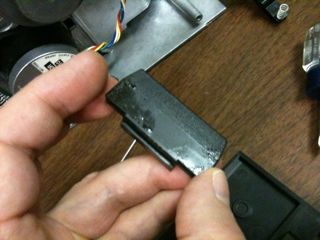
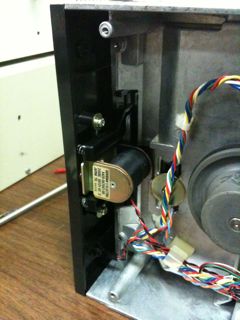
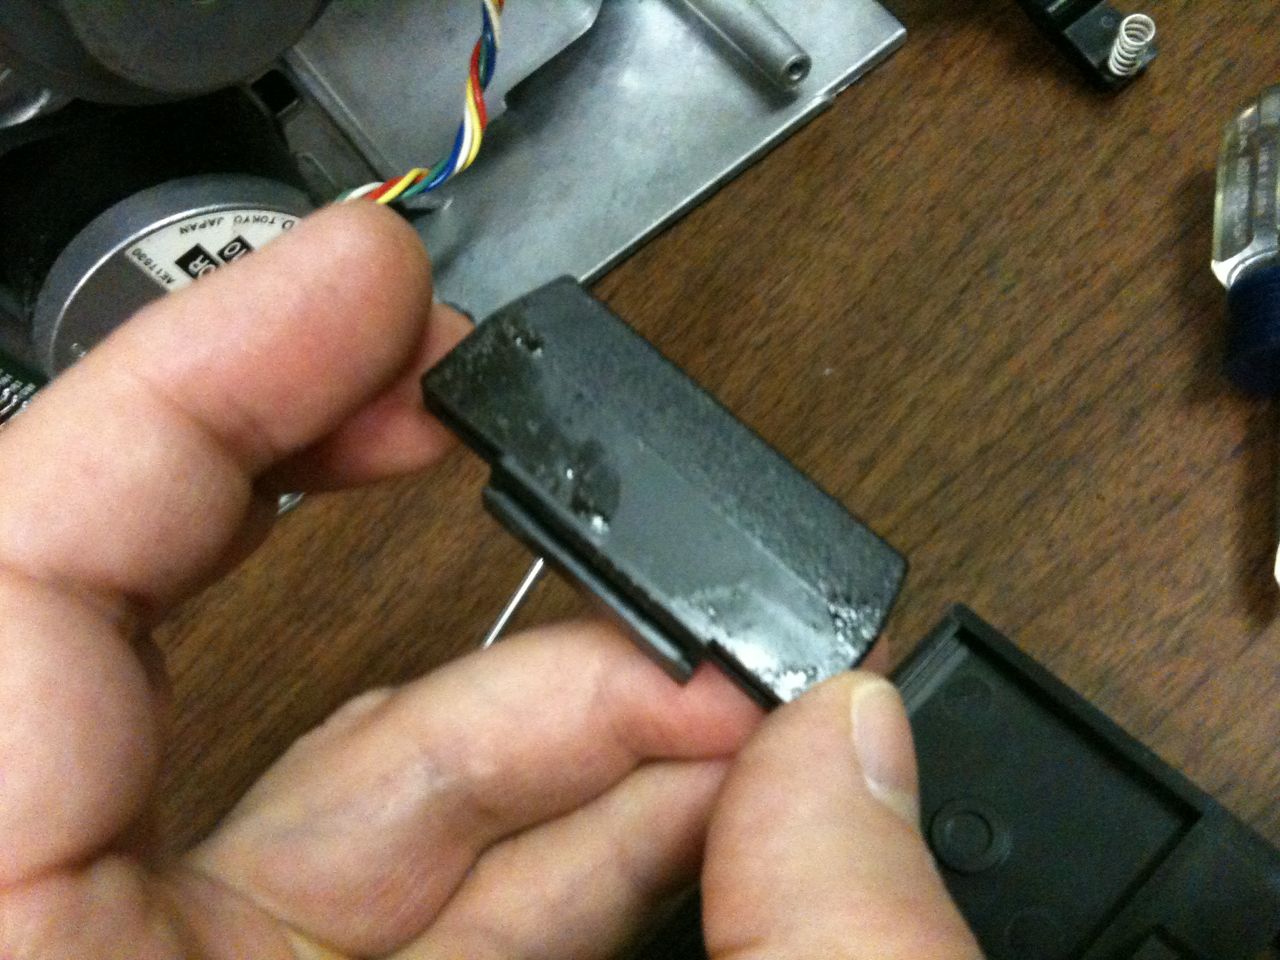
The release button. This image shows the goo that was making the door stick.
|
N/A
|
|
All the bezel parts are cleaned up and ready to reassemble.
|
N/A
|
|
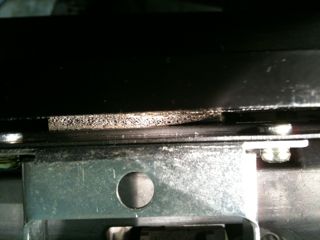
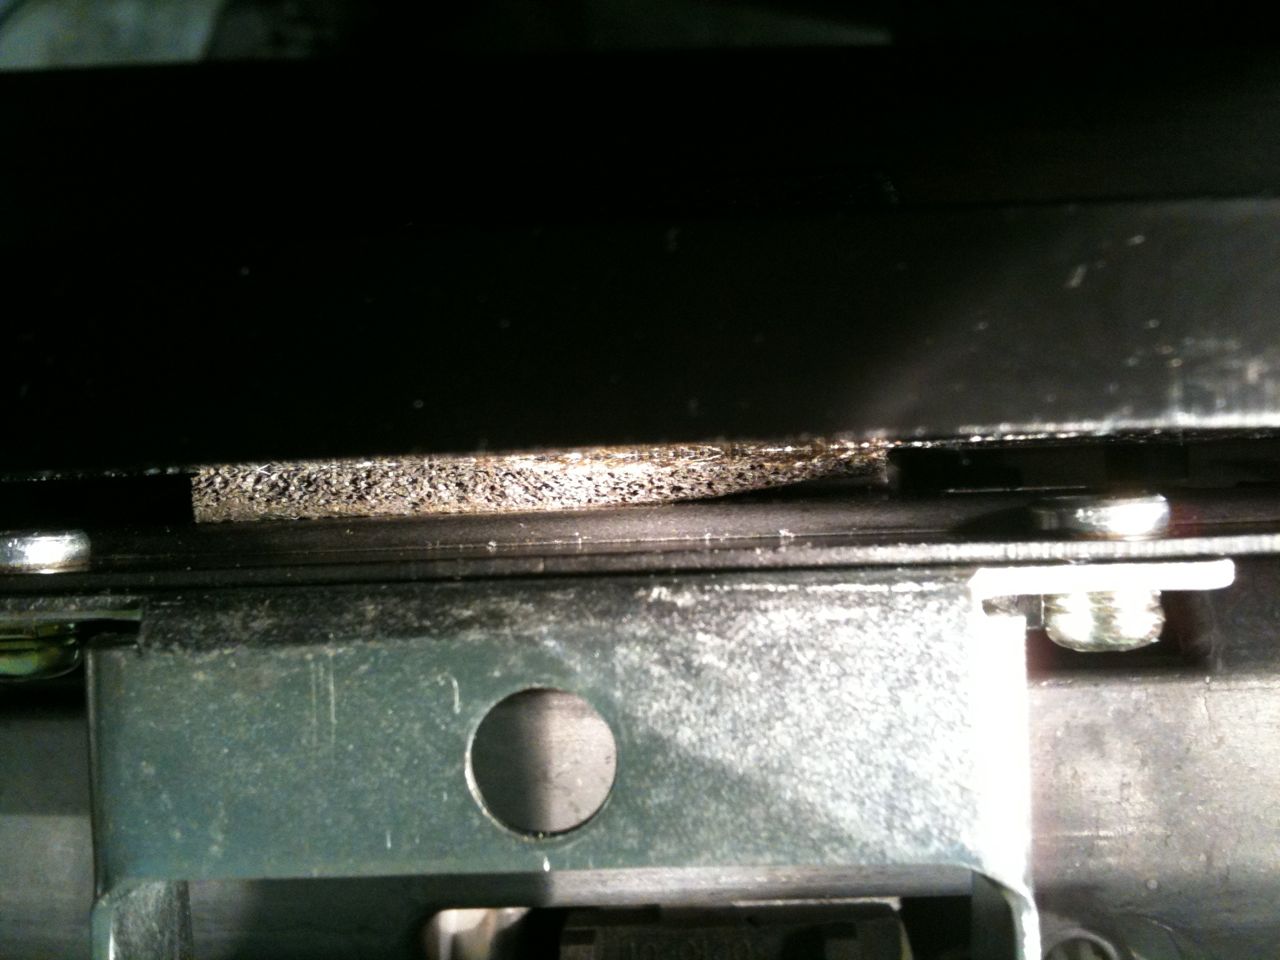
Shows the foam rebound pad binding up the drive door action.
|
N/A
|

|
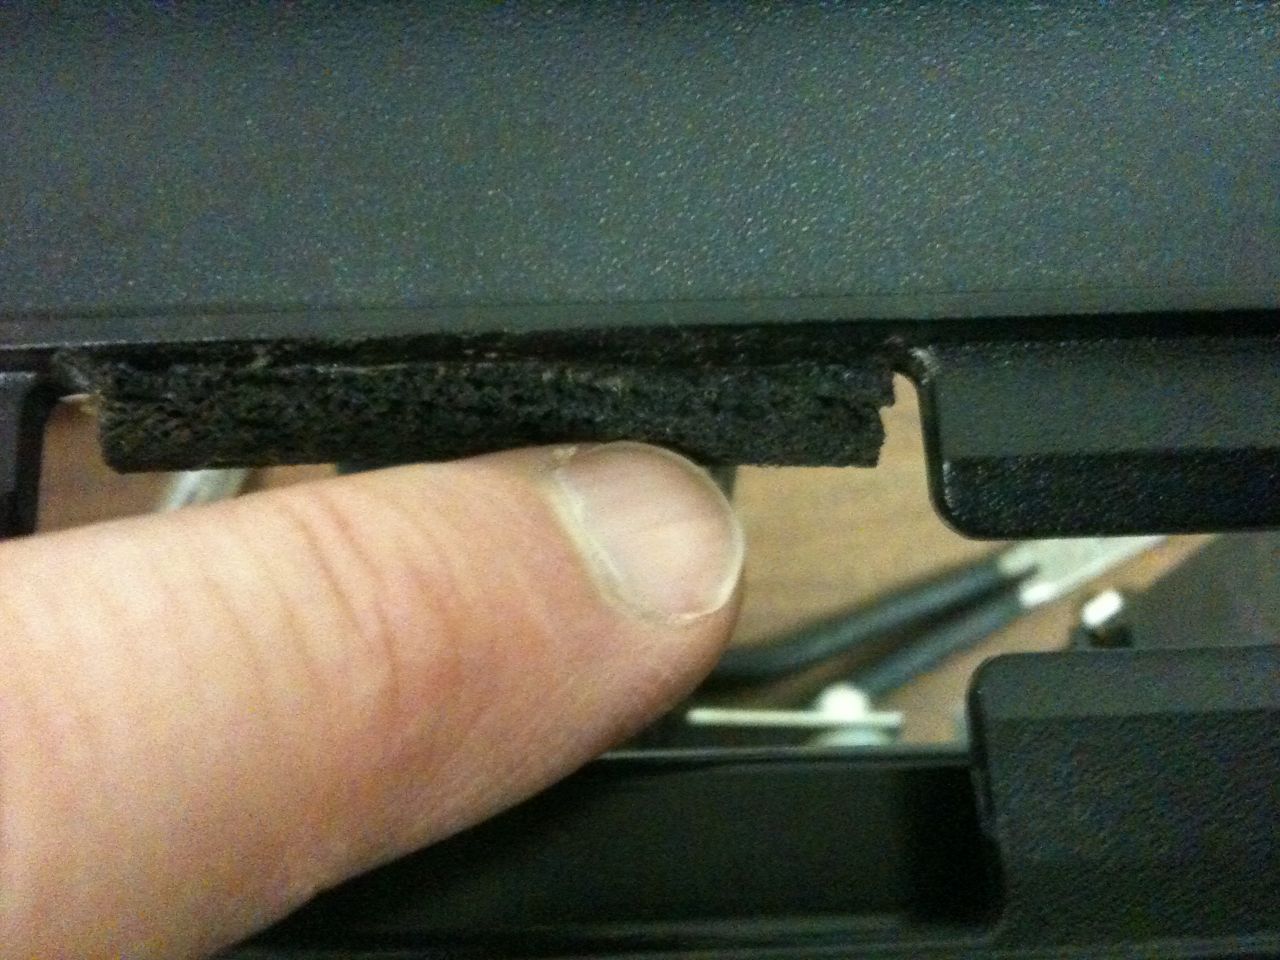
Shows the tear in the rebound pad. Some Super Glue Gel closed the tear nicely.
|
N/A
|
|
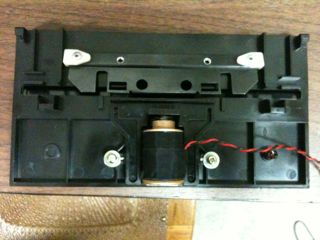
The front bezel with door lock solenoid. Notice the yellow-ish looking bumper on top of the solenoid coil with the spring and solenoid pin sticking up. This used to be rubber, but has deteriorated into a waxy, sticky resin-like substance that can make the pin inadvertently stick in the "Door Locked" position, making it hard to open the drive door sometimes. I had to clean all the parts, center the bumper over the coil core hole, then carefully reassembe everything so the pin didn't make contact with the sticky substance. This didn't last. The E-Clip on top of the pin still contacts the sticky part when retracted. Eventually, the pin started to stick again. After looking around on the web, this seems to be a common problem for rubber parts on vintage hardware like this. I'm looking for a suitable replacement.
|
N/A
|

|
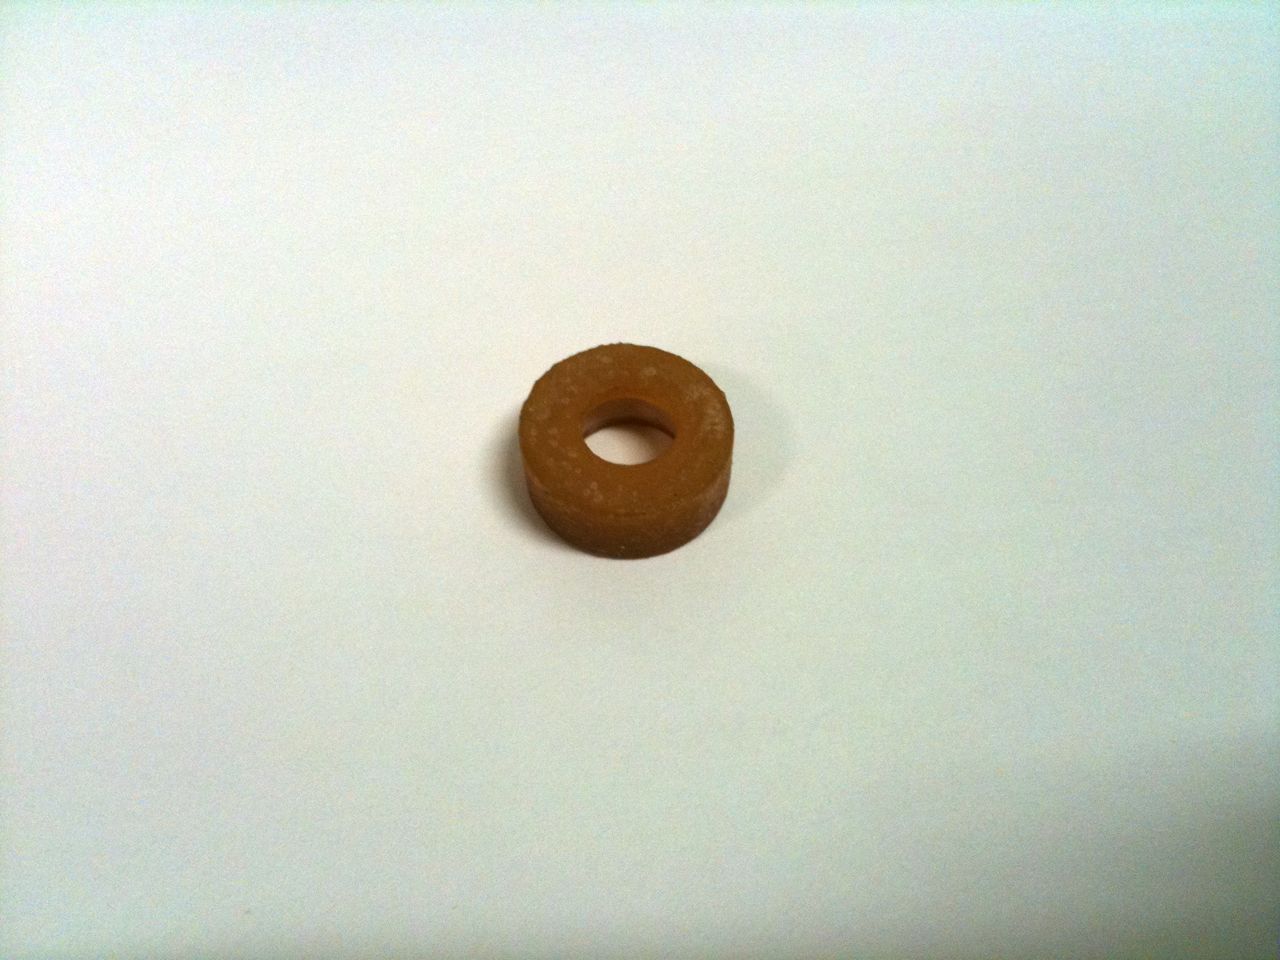
Close-up of the deteriorated bumper.
|
N/A
|

|
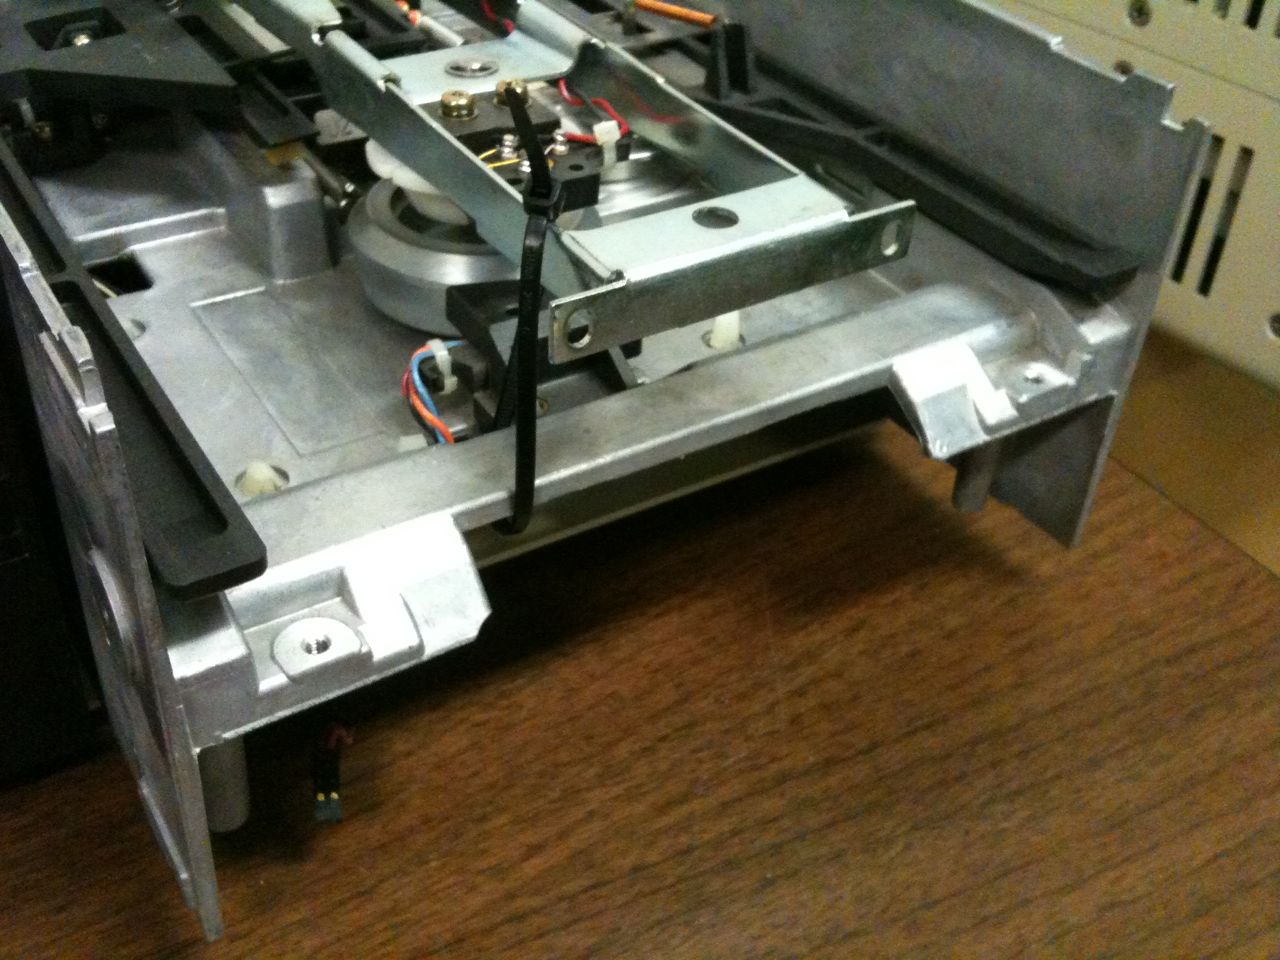
The manual says that if you don't want to risk damaging the R/W head, be sure and restrict the movement of the spring loaded carrier assembly so that it doesn't spring upward and over-extend the precision preloaded R/W head springs. So I zip-tied the carrier arm before releasing the screws holding the carrier arm to the door latch plate.
|
N/A
|
|
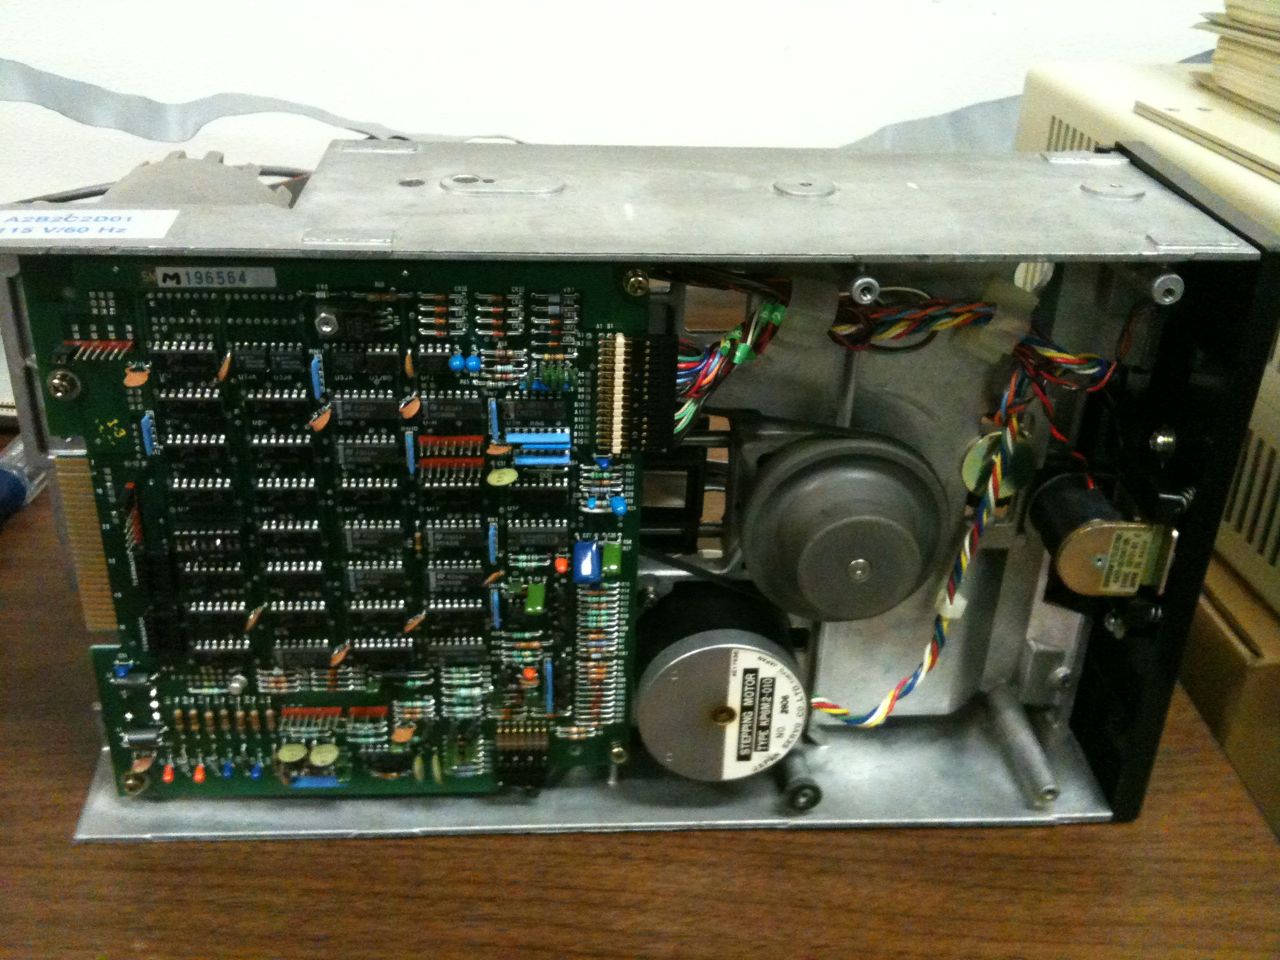
Underside of drive after cleanup.
|
N/A
|

|
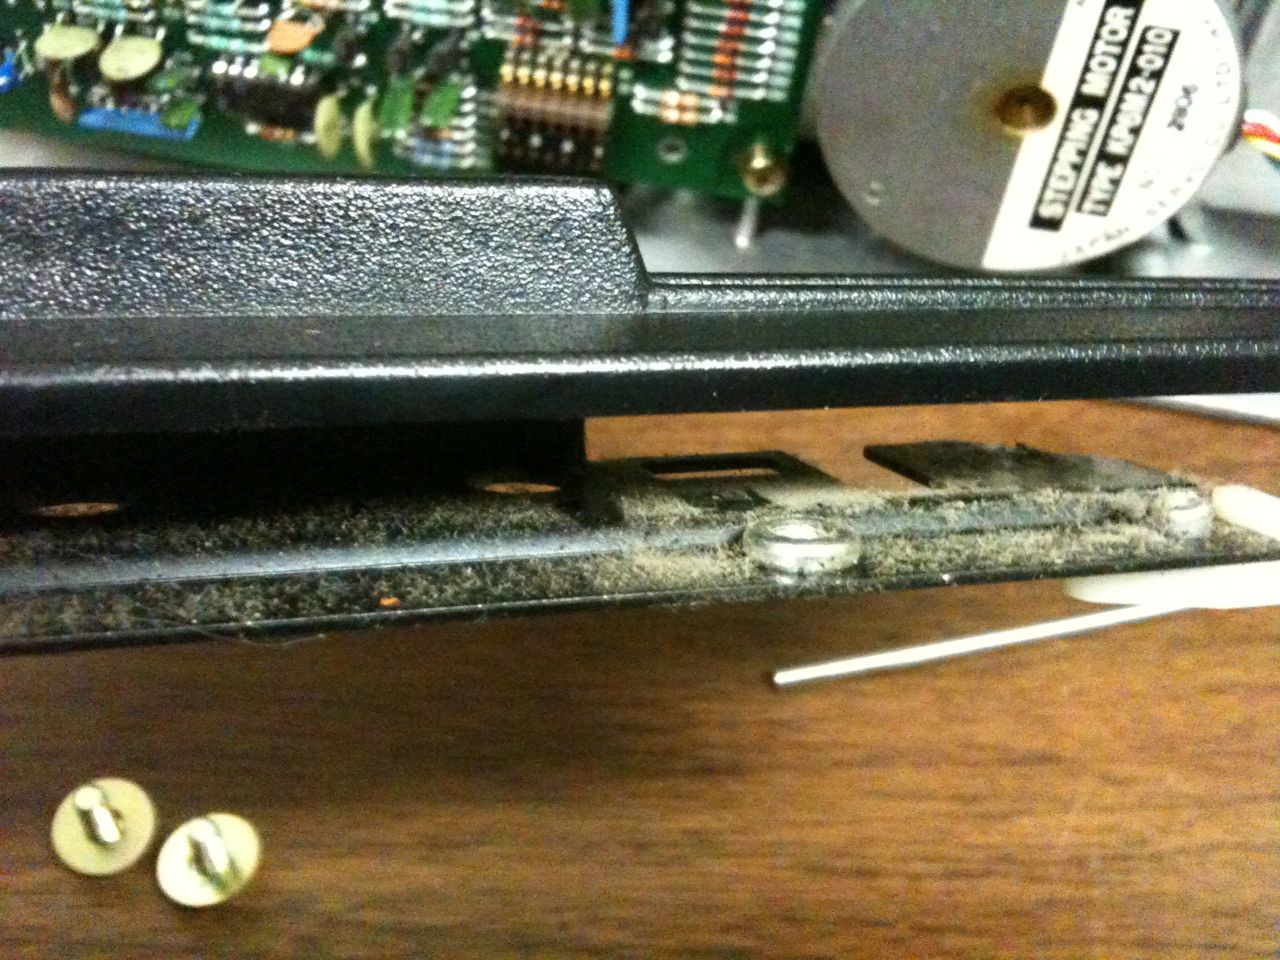
Behind the front bezel.
|
N/A
|

|
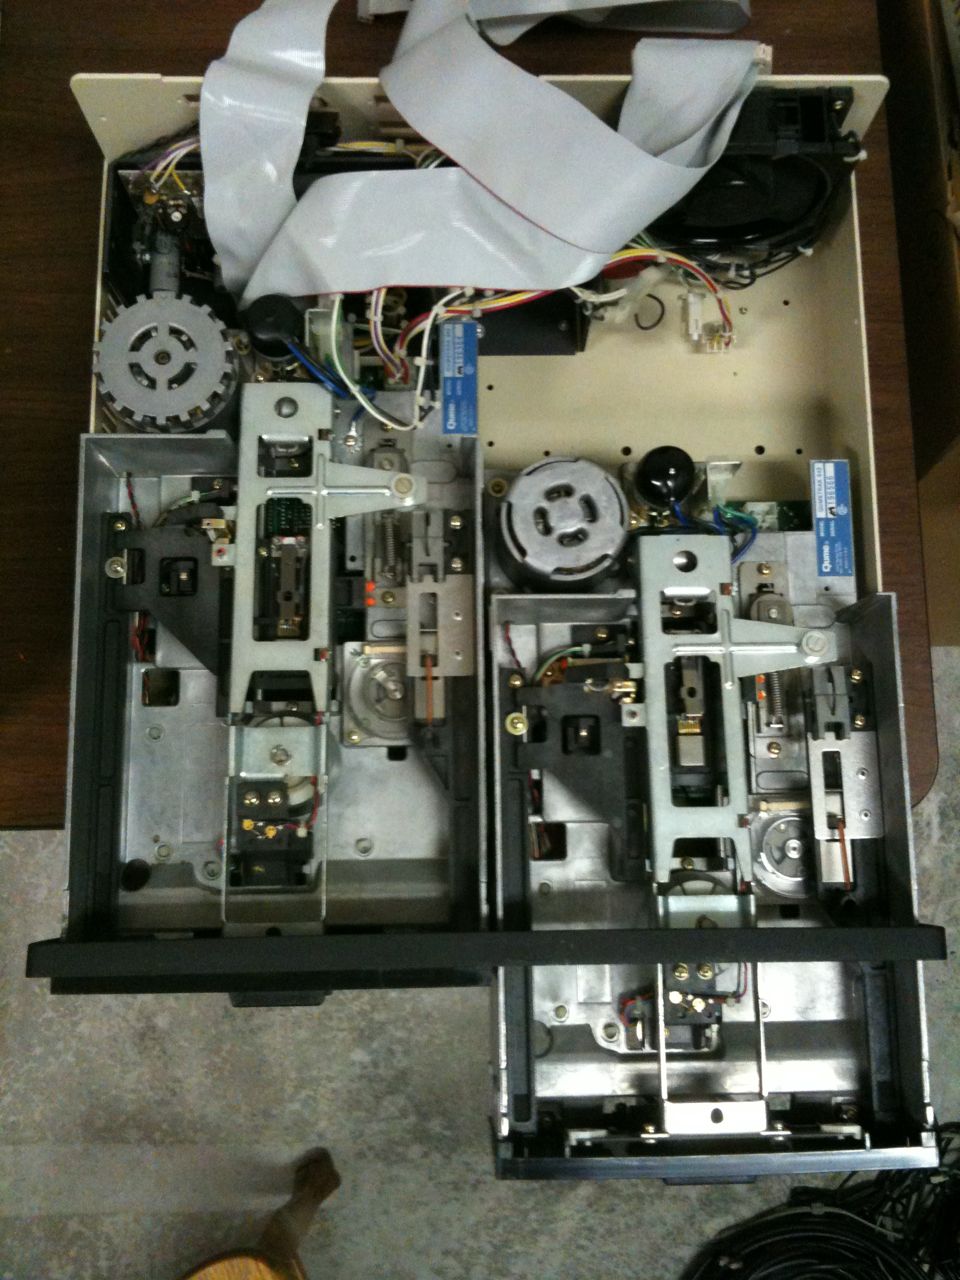
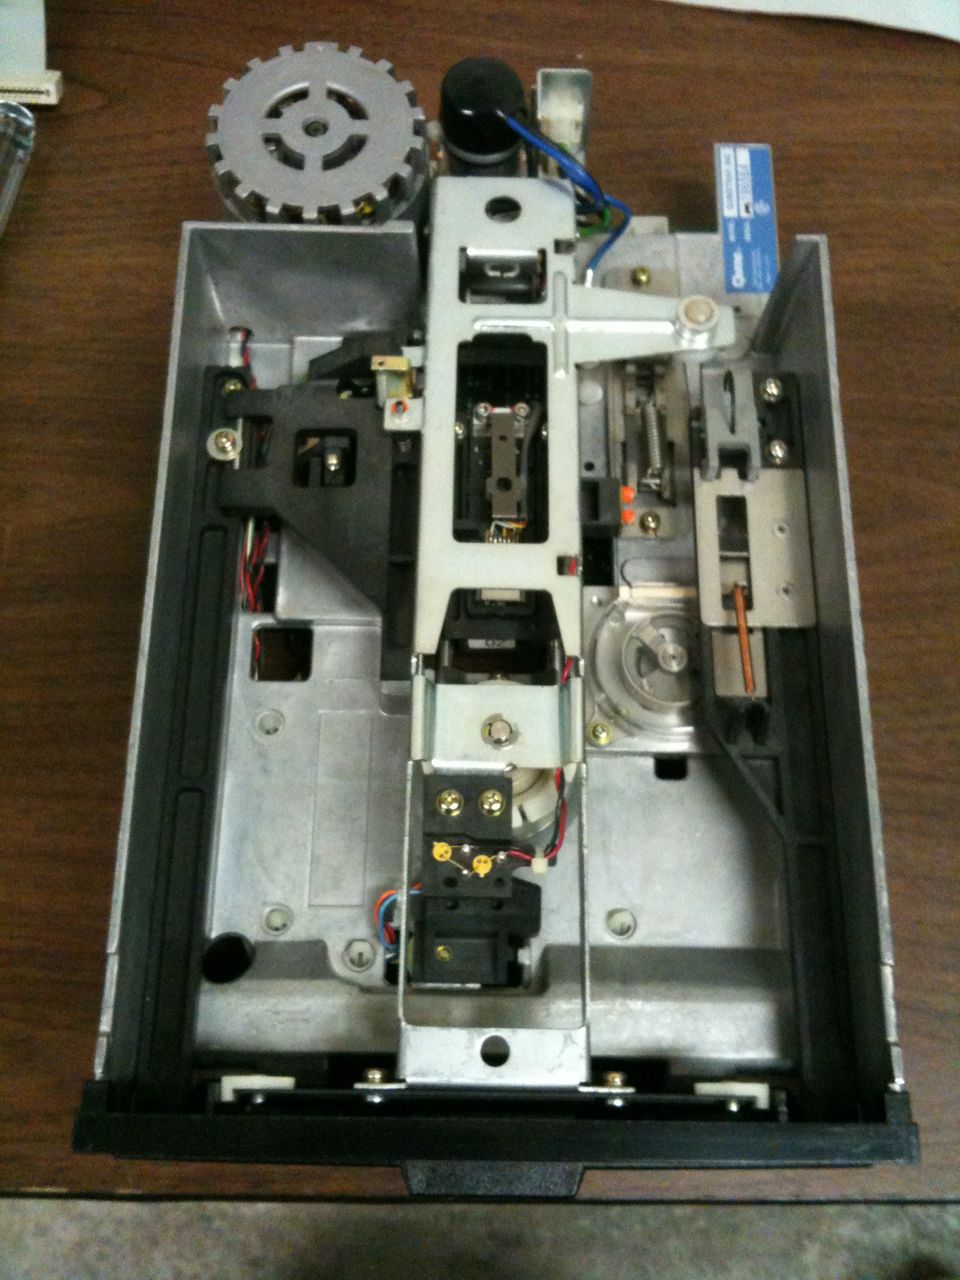
Top down view.
|
N/A
|


